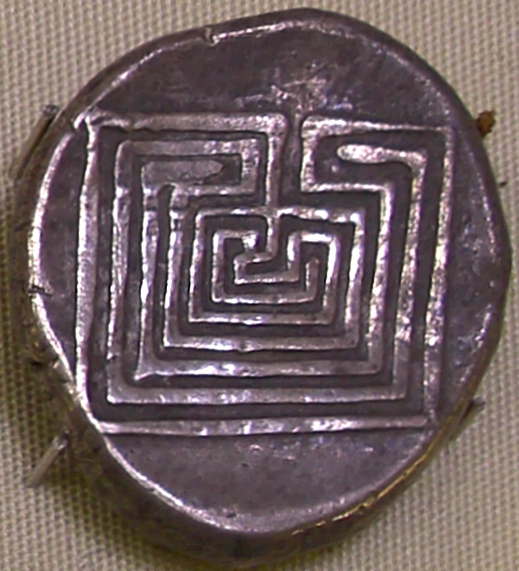
Traditionally labyrinths are of course intended to be walked upon. But even in ancient times, there were small labyrinths that adorned buildings, books, and even coins.
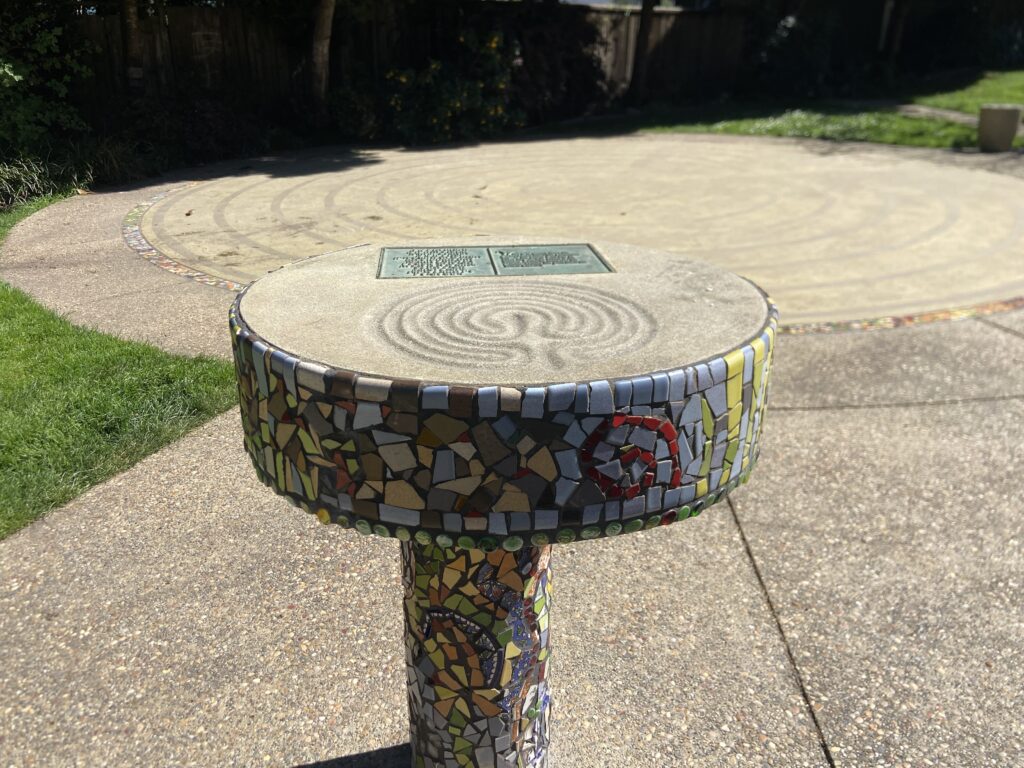
When I was visiting the Scott Street labyrinth, I appreciated that they had both a walking scale version and a small one on a raised dias that you could trace with your finger. I found the smaller version surprisingly calming and pleasurable.
So I decided I needed my own.
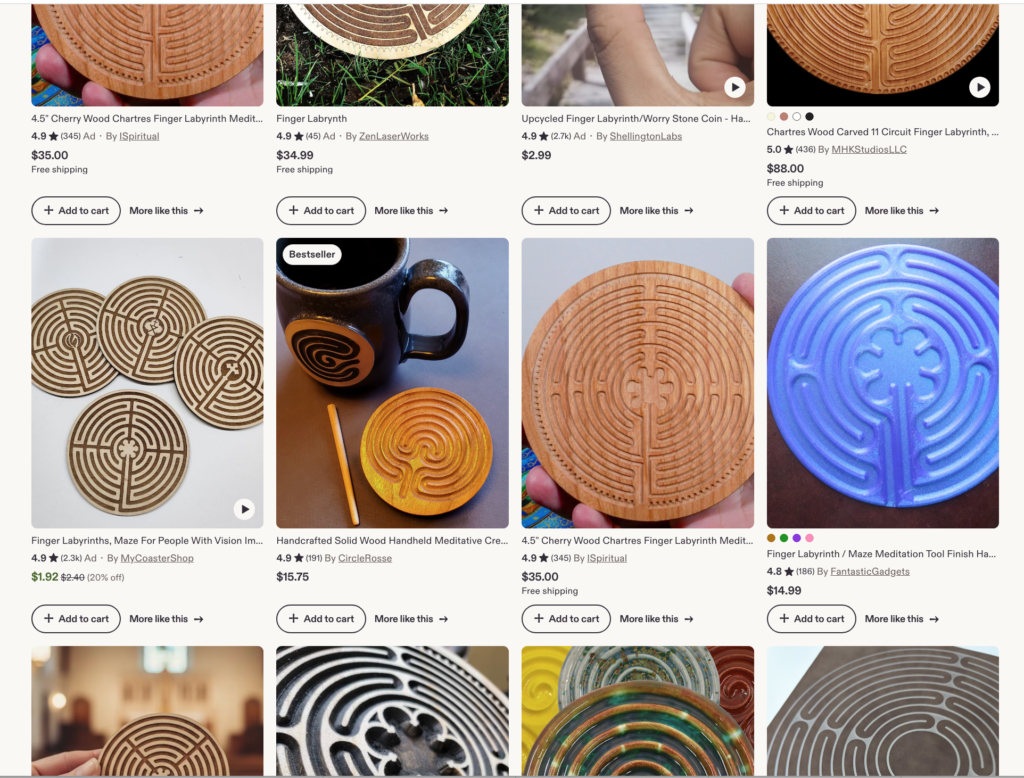
A search online found a bunch of finger labyrinths on sale on Etsy — mostly made of wood, but a few 3D printed in plastic.
While those all seemed nice, I wanted to see if I could make my own.
I love the idea of carving my own labyrinth out of wood. But I don’t have the tools or the skill, so that seemed daunting.
And then I thought of modeling clay. Surely that couldn’t be that hard? A quick trip to Michael’s scored me a block of Sculpey brand modeling clay that hardens in the oven when you are ready to finish your project. Perfect!
For my labyrinth, I chose a cretan pattern, which seemed more achievable than a Chartres / medieval style.

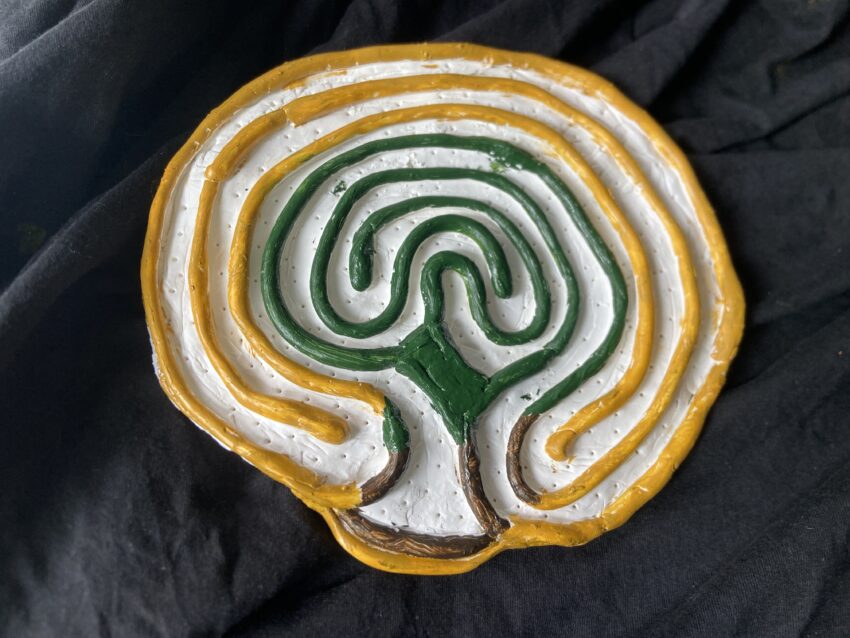
It took a couple of experimental versions, but I landed on a rough but workable finger labyrinth that seemed like it would do the job. Here’s how it came out.
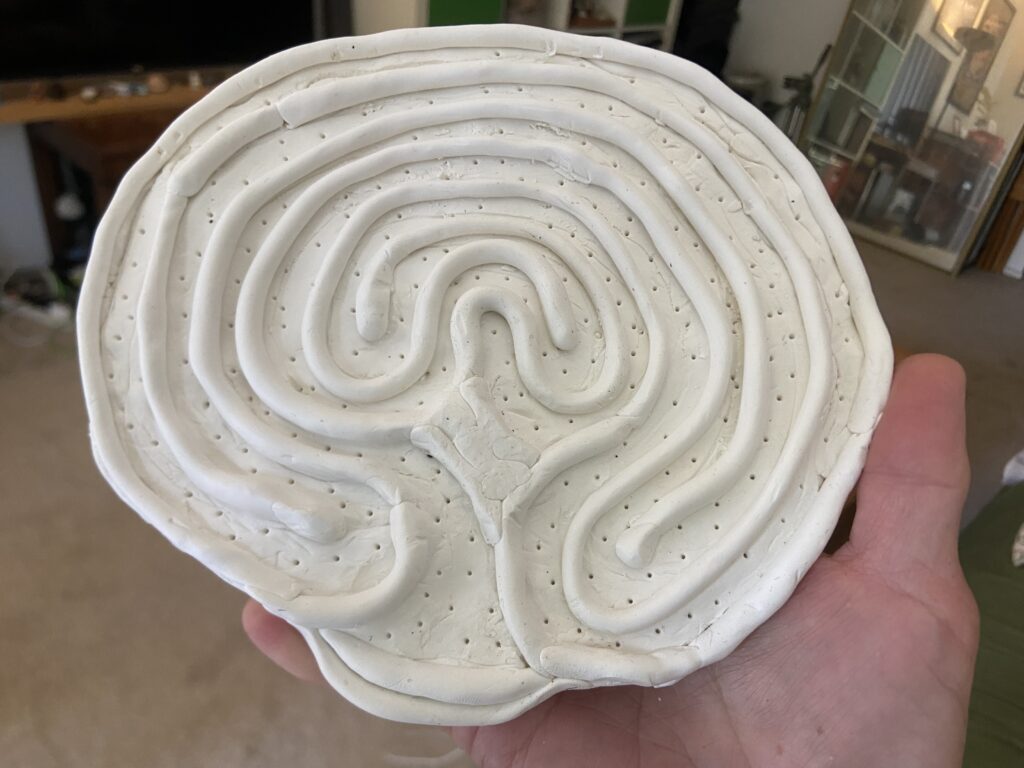
Is it perfect? No. But did I make it myself? Yes!
I’m excited to incorporate this tool into my daily meditation practice. Here’s what it looks to “walk” it with your finger.
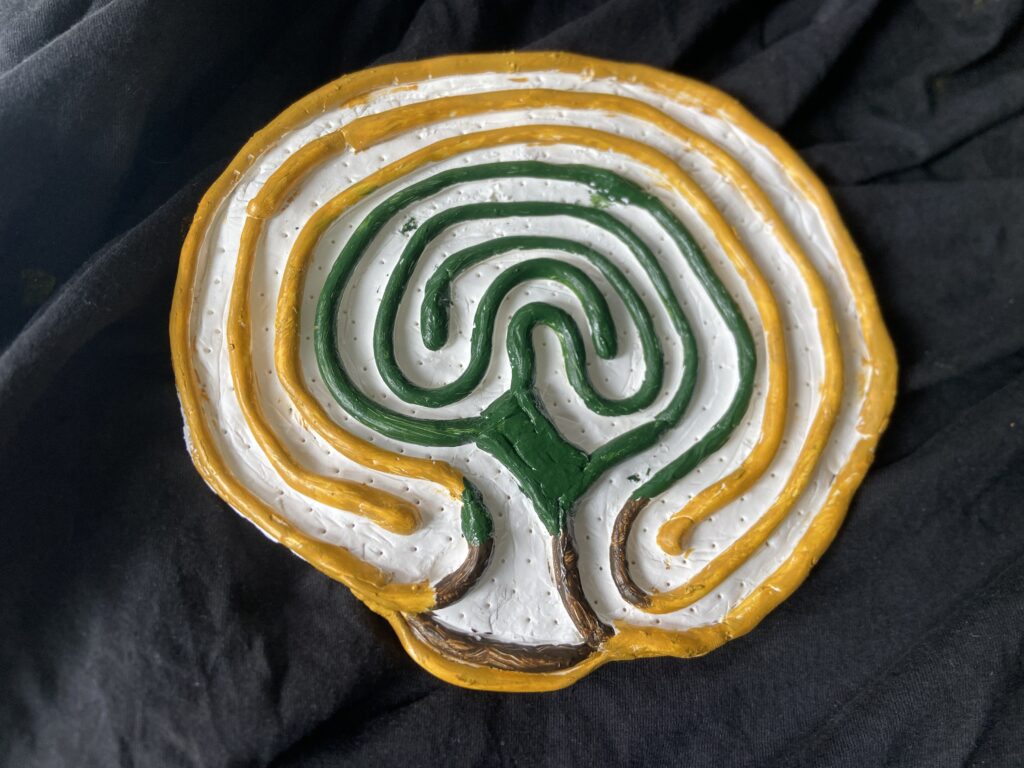
I think it needs a paint job. I see a tree, so probably a mix of greens and browns….
UPDATE MAY 8, 2026: I painted it!
UPDATE MAY 13, 2026
I love these tips from Lars Howlett on how to use a finger labyrinth as part of your meditation practice.
Some things that help me center down when using my finger labyrinth:
- Intentional breathing
- Closing my eyes
- Only moving my finger during each exhale
- Pausing at the center
What a creative project! Making a finger labyrinth is such a meditative and therapeutic craft. I love how you can trace the path with your finger and find a moment of calm. This would be a wonderful activity for both kids and adults. I have been exploring similar hands-on creative projects and sharing them online. Thanks for the detailed tutorial!